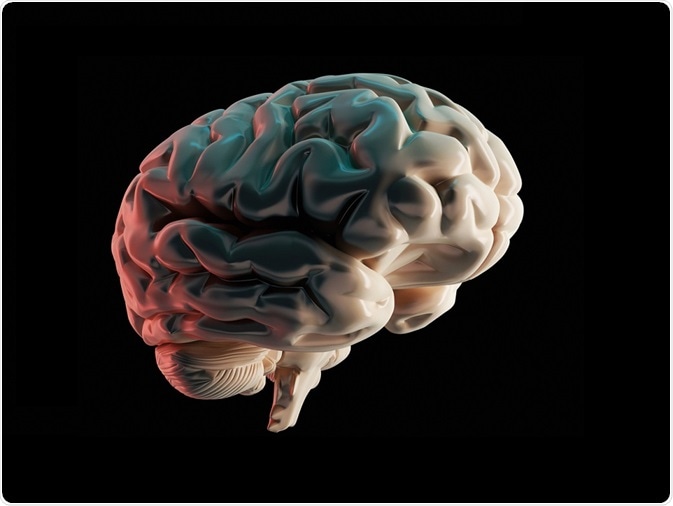
The CLARITY technique is a technique used to clear tissues of lipids and enable immunolabelling of whole, intact organs. This has advantages over traditional methods, which have always depended upon slicing the tissue and reconstructing it at a later date – resulting in tissue distortion and inaccuracy.
 hakusanto | Shutterstock
The lipid-exchanged, anatomically rigid, imaging/immunostaining compatible, tissue hydrogel (CLARITY) method was initially designed in 2013 by Chung and Deisseroth at the Stanford University School of Medicine. Using this process, post-mortem organs can be labeled for proteins and nucleic acids, enabling analysis of intact samples to create detailed 3D images.
Methodology
Each stage of the CLARITY technique is outlined below:
Tissue fixing
The first step in this process is to infuse the tissue sample with hydrogel monomers (such as acrylamide or bisacrylamide) and formaldehyde. Throughout this process, formaldehyde is very important, as it crosslinks the tissue and binding the hydrogel monomers to proteins and nucleic acids.
The next stage involves polymerization into a hydrogel mesh, ultimately ensuring that the tissue remains intact, retaining the original structure of the organ and making sure that the positions of proteins and nucleic acids are not altered.
Lipid removal
The hydrogel monomers used in the tissue fixing stage do not bind to lipids and other biomolecules which lack specific functional groups. This is important as it allows for lipids to be removed. This is achieved by a novel ionic extraction technique, in which tissues are treated with SDS and an electric current is run through, carrying the lipids out of the tissue.
Without the current, the passive process takes around 2 weeks and therefore the electric current is very important in speeding up the overall process. SDS has lipophilic qualities, meaning that it binds to lipids and carries them out of the tissue. This makes the tissue transparent, allowing microscopic analysis. However, as proteins and nucleic acids are fixed in place, they are not removed.
Tissue restoration
Throughout this preparation process, the tissue enlarges, requiring restoration through treatment in a refracted index matching solution. Once returned to original dimensions, the sample can then be used for imaging.
Imaging preparation
Once the tissue is restored, it can then be used in for the imaging of various biomolecules. This can be through various methods, such as immunofluorescence using tagged antibodies, or by nucleic acid labels. Once labeled, images can then be captured using standard immunofluorescence or imaging techniques.
Analyzing the results
Overall, this technique leads to the generation of high quality, highly detailed, 3D images of intact organs. Once an image is obtained, the first antibodies can be removed, and second antibodies can be applied, leading to the production of multiple results per tissue sample.
Therefore, this technique can produce accurate, reliable images demonstrating protein and nucleic acid location and interaction, while providing further data on subcellular structures, and communications between different structural cells.
This technique has been applied in many areas of research, such as Alzheimer’s disease, multiple sclerosis, and autism research. Furthermore, it can also be used over a wide range of organs (including the spleen, brain, pancreas, and testis), in other organisms (such as Zebrafish) and in plants. Therefore, the potential future applications of CLARITY are endless and very promising.
Further Reading
Last Updated: Jan 8, 2019